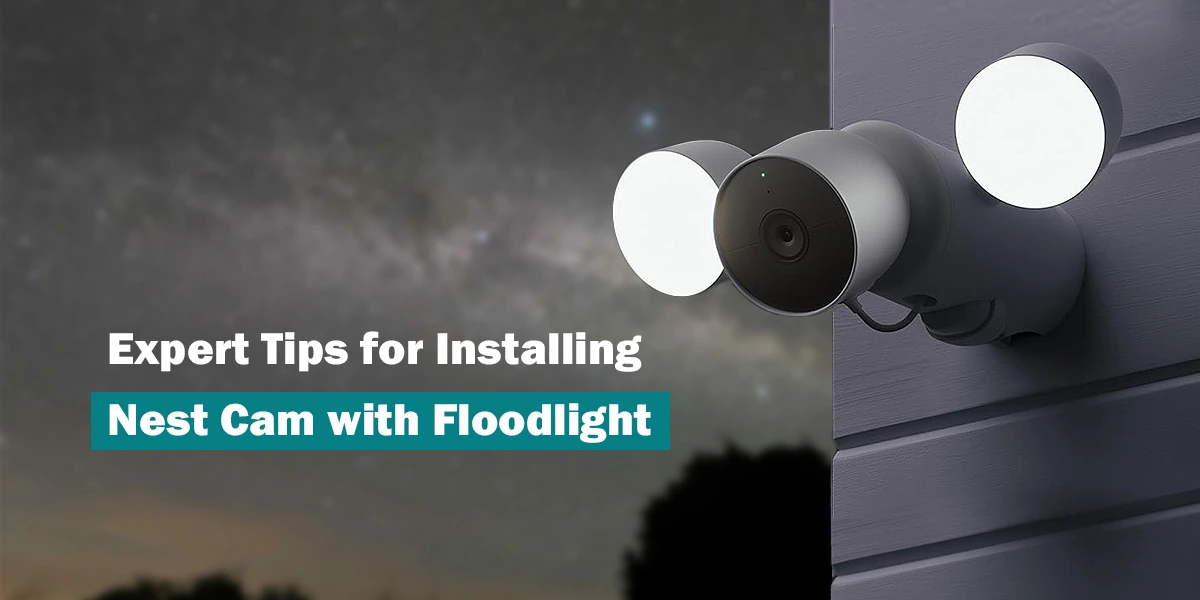
Many homeowners today prioritise home security. Because of technological improvements, it is now simpler than ever to put up a strong security system to secure your property. The Nest Cam with Floodlight, a mix of smart security camera and strong outdoor lights, is one such invention. Go through the professional advice for installing a Nest Cam with Floodlight to keep your house secure and well-lit in this blog.
Formulate for Installation
Take some time to idea formerly you begin the installation procedure. Choose the best place for your Nest Cam with Floodlight. Consider the following elements:
- Coverage: be sure the camera can see the whole thing you want it to. Nest Cams offer a large field of vision, but they must be appropriately situated.
- Height: Place the camera at a height that is difficult for intruders to access while yet providing clear coverage. An excellent beginning point is 9-10 feet tall.
- Power Source: For a secure power source, put the camera near an electrical junction box.
- Wi-Fi Signal: To ensure a consistent connection, retain the camera within a practical array of your Wi-Fi router.
Examine Your Wiring
The Nest Cam with Floodlight is powered by electrical wiring. If you are unacquainted with electrical exertion, it is strongly advised that you engage a licenced electrician. Consider the following:
- Voltage: Check that the power supply fulfils the voltage requirements of the camera. Nest Cams are commonly powered by 120V.
- Weatherproofing: To protect the wire from the outdoors, the electrical junction box and conduit should be waterproof.
How to Mount the Camera?
The camera should be mounted when the wiring is complete.
- Setting up of the Bracket: Firmly fasten the escalating strut to the junction box. Be sure it is attached securely and level.
- Fix the camera by closure it to the mounting strut. In order to capture the required view, make sure it is angled properly.
- A camera’s angle may be adjusted using the Nest app to make sure it is level and covers the desired region.
Establish Wi-Fi
For remote monitoring and alerting, the Nest Cam with Floodlight needs a strong Wi-Fi connection.
- Fix the Nest app on your device after downloading it.
- Pairing your camera with your Wi-Fi network: Use the app to do this.
- To join your camera to your Wi-Fi network, use the app.
- Verify that the camera’s live feed is operating properly.
Establish Alerts
Sending warnings and notifications is one of the key functions of the Nest Cam with Floodlight.
- Define particular locations for motion detection using activity zones. This cuts down on false alarms.
- Change the notification frequency to suit your requirements.
Lighting Management
The floodlight on your Nest Camera setup may both light up your property and serve as a deterrent. Adjust the lighting settings to suit various situations:
- Establish a lighting schedule depending on your daily schedule.
- When motion is detected, modify the floodlight’s sensitivity and duration.
Consistent Maintenance
Consistent security is guaranteed by a Nest Cam with Floodlight that is kept up. Make sure it’s functioning properly by:
- To retain clear footage, clean the camera lens on a regular basis.
- Apprise your Nest app and camera firmware recurrently to take pro of the up-to-date security features and recital augmentations.
Conclusion
By according to this professional advice, you can guarantee a successful installation and keep your mind at ease knowing that your home is well-defended and well-lit. In order to achieve the finest results over time, keep in mind to routinely repair your system and to seek expert assistance if you lack experience performing electrical work.